Welcome to my blog, the story of my continuing journey into the World of Zombie Wargames.

Monday, 28 September 2015

Container Office (2)

Door 'End'
Here's the completed Container Office, finished in a bit of a hurry.
It measure a mere 2"x2"x4.5" (height, width length -about 50mm x 5mm x105mm)
I added a few vertical struts to the model for interest and of course the roof was finished off.

Small window end
The rear (other end from the door) has a small window whilst the non-window side has had three 'struts' for 'decoration'; they're very thin slices of card and give no strength to the model, but do add a little more interest to an otherwise very boring side.


Boring end.


 As I hadn't done a detailed interior for some time I made a few items for the interior, as can be seen.
The desk wand bookshelf were made from scraps of fairly thick card whilst the door frame and door were made out of two layers of thinner card, using the thinner card as a hinge in the resulting 'sandwich'
Bits and pieces
I also utilised bits and pieces from my 'stock' of bits, poster, magazines, newspapers, documents, paintings and so on; some of them can be seen to the right (I used all of these except the 'gun' poster).


Before internal detailing
Door end before
After a very swift internal paint job, a paper floor, representing some form of tiled surface was added.
I knocked of the tiling on my printer in black and white on an A4 sheet so very little was used. and much remains.


Sid standing in the entrance,
Here's a view showing how crammed the inside is. I don't think that there is more than a single place where a figure with a 25mm base could stand (directly in front of the desk - in case you're wondering!) .


Desk area.
Opposite view
As can be seen, it's very tight inside and I really should have measured up the desk before setting to make it!
A few other items from my stock of things I add to internal 'fixtures and fittings' can be just about made out.
A pizza, which I've sort of adopted as a trade mark - they're very easy to represent (and are easily identifiable as such with a 'slice' removed),; a fuel can (must get some more of these), some books and of course newspapers.
The desk-top monitor took about 5 minutes to make and maybe another five to paint.

So, what's in the little room at the other end ? The Little boy's room (of course)
The little boy;s room
Little boy's room alternative view.
The sink was made from a scrap of card, a piece of sprue and cut tablet packaging (I hjave a lot of these).
The toilet was one of many I made two or three years ago from cork .


Sid wondering who is inside .
Final bird's eye view - can you spot the dart-board ?
 I've managed to coerce someone to throw dice with me, next week's post will be an AAR !
 That's all for this week except to welcome my latest follower  "da Gobbo Grotto" whose blog can be found here; I hope that those reading this find something of interest.

And finally , if you don't know what the WWE have to do with my gladiator project, you can find the answer HERE

Monday, 21 September 2015

Container Office (1)

Arghh, the old three walled container problem
So this week I thought I'd do the final container print-out that I had, which was for an office type building you see all the time on building sites and the like. Having cut out the net of the building I then decided I would do some internal detailing (even if I decide the rood wouldn't be coming off, some internal detail could still be seen through the windows.
It's a simple enough build, four walls, floor and a ceiling; simple enough that is until once you've cut it out, tidied up and found that you've thrown the wall with the door out!


Long side
Once I'd calmed down, rather than do a reprint of the whole thing my solution was to scratch-build one instead.
It doesn't follow  the original one completely, although it does have very similar features; a door on one of the short sides, two windows on the long side and a window on the other short side - though mine is significantly smaller.


Boring rear long side with small side window barely visible
Vaguely interesting doorway
The whole thing has been cobbled together from two different thicknesses of card, the thinner stuff from one of my many empty medication boxes that wold otherwise have been thrown.
The base is made from a soft plastic 'plastic card' type material and is about 5mm thick, whilst the other stuff isn't !


'Furnishings'

I do intend to 'detail' the inside and it will have a lift-off roof, so whilst waiting for the PVA to dry I knocked up a couple of things that will go towards the furnishing.
Just in case you can't make out what's on the photograph, there's a desk; a shelf unit; a doorway and a kitchen sink !


Providing there are no further calamities this week then this should be finished in time for next  week's blog-post !

My other blog Zabadak's Gladiator World has also been updated.

Monday, 14 September 2015

Shipping Containers

I've had these on my to do list for no other reason than they're quick to make (comparatively),
Container stack.
provide some easy scatter terrain and seem fairly iconic in a quite a few zombie novels I've read.
Note though that I have no intention whatsoever of making some attempt at a container port!
First up is a kitbash (how I hate that word) of the three WorldWorksGames containers. I have also made the three individual containers separately, but for some reason the rubbish photographer forgot to get a snap of them.
The WWG containers were the first ones I obtained and the only ones I actually paid out for, my others were all free downloads found on the  Interweb thingy.
The Toposolitario containers
These three were obtained from a great site: http://www.toposolitario.es It is in Spanish, but for English readers there is a translate to English button.There are a great many more free models on this site too, but mostly for a futuristic style of game.
The three Maerklin containers

Next up are another three 'freebies', but aimed towards children, hence their simplicity, but there is still nice detailing on the doors and it's yet more variation.
These are available from a  German site for children:   //www.maerklinfanclub.de/en/
but you'll have to do a bit of digging around to find them.
Four of the the Igshansa
Next up are umpteen containers from yet another German site:
http://www.igshansa.de/igsdownloadeng.html
They're in two different sizes for most of them; a 20 foot version and a 40 foot version and are available in three scales, 1/87, 1/100 and 1/200 as they're aimed at railway modellers.
Another four of the Igshansa Containers
 I used the 1/87 versions for mine and re-scaled them to somewhere between 1/43 and 1/60. Shipping Containers come in standard sizes generally with a 10 foot square (about 3 metres) end by multiples of 10 foot lengths.
I chose to do the shorter versions  for gaming purposes.

Same containers as above, but showing the logos on the back two
Yet more of the Igshansa Containers
They come in all colours and have lots of different logos too - there are so many that I wouldn't be surprised if I've missed a few.
All mine (save for one) haven't got a base to them as this made it far easier to pack them out with foamboard reinforcement, made from the numerous pieces of scrap foamboard that I retain for just such uses as this.
Are we nearly there yet? - Another three Igshansa models 
Final Igshansa model
The final one of the Igshansa models was photographed by itself as I found it had been omitted after the general photo session of the others.


And where would we be without that most damning of all containers - the Umbrella Corp container?
This is one of a series of futuristic conatiners available from :
Antenocitis Workshop
The containers themselves are very 'futuristic, which can just about be made out on the one in the photograph to the left.
There's  WWG container in the right foreground
They're all (as far as I can tell based on 'Evil Corporations' and there's a lot of them too! I've only made the one for the moment and even that has been modifed a bit. The doors were taken re-sized from another model then coloured to match, whilst the top of the model I replaced using the base, for no other reason than I preferred the look and it took it further away from the 'futuristic' look.
Since making all these I've found a few more  models among my files and I'll probably have another look at some of the Antenocitis ones too for inspiration, if nothing else.

The final Stack showing 27 of the models I made
Excluding the solid stack of WWG models (effectively representing 18 containers) I made a total of 28 single container models although there are one or two duplicates amongst them, but no matter, it reflects reality to some degree.

That's it then for another week - hope you found something of interest (and I'm sick of typing the word "container").

My other blog's post is the last in my menagerie series and can be found HERE

Monday, 7 September 2015

Border Reiver 2015

Great pre-dreadnought game.
I attended the Border Reiver 2015 wargames show last week-end, quite a rarity for me as I haven't attended a show for about three year's now due to many reasons. health, wealth etc.
Overall it was a very enjoyable departure from my normal Saturday and I met up with many old 'friends' (only a few of whom "blanked" me). The atmosphere of the venue was what I'd normally expect from a show, lots of friendly folk willing to chat about their games and traders showing off their wares.


Pegasus Bridge game in 28mm
 Of the current 'new' stuff, I was particularly taken by the resin pre-dreadnought models available from "Old Glory" and not too many years ago I would certainly have bought up fleets of these even though I'm pretty crap at naval wargames.
As with a lot of 'sports hall' venues the lighting was poor for photographs, which coupled with my photography skills (zero) made taking snaps that much more difficult. I've consequently cropped and enhanced my photographs to attempt to alleviate the dark yellowish hue that plagued most of the pictures I took.
Wild -west game with card buildings
Warhammer 40k ?
There were a lot of small-scale skirmish type games on as well as the big-battalions games and few participation games.
Erm....
Large scale 28mm (?) ACW
The games themselves were very varied, which is a good thing imo and covered just about every historical (and some fantasy) period, and scale of figures though ancients seemed to not be in fashion.


6mm Waterloo

Football-type stands in the foreground!
My mate Stu showed off his vast  amount of fantasy terrain that he's been working on for what seems like forever. You can see his stuff on "Captain Jack's Locker" on FB.
Is a smorgasbord of fantasy buildings showing  off his many variants on "Bloodbowl" type games (including one on that, as yet, unfinished ship!)
The other end of his terrain
WWII
Modern and WW2 warfare was well represented in both smaller scales (as in the game on the left) and larger scales (1/32 ?) as in the participation Tiger hunt game.- below.
Though who was meant to be hunting who was open to debate.


Spot the Tiger

Four against one- seems fair.
 The 'hunters' or possibly the hunted at the other end of the table.


Another well presented modern game


Naval game
There were only a couple of 'static' games like my mate's Stu's  (above) but I did note that most that were actively being played suffered from the detritus of dice, tapes, cards, rules etc littering their table  as I'm sure all our own games do. (Though there were some exceptions as in the modern game above<


Aerial game - Snoopy versus Angry Birds ?

Zulu war game in 28mm
Coupled with the my mostly disastrous attempts to capture the games digitally , in my excitement  at being at a wargame show I also forgot to note which club/group was putting on which game ! Sorry for all that.
There are a number of other blogs out there though (that also have much better photogrpahs I'm sure)  that do give credit to those putting the games on.

Batman! (10 brownie points if you can spot him)

Have you spotted him yet?
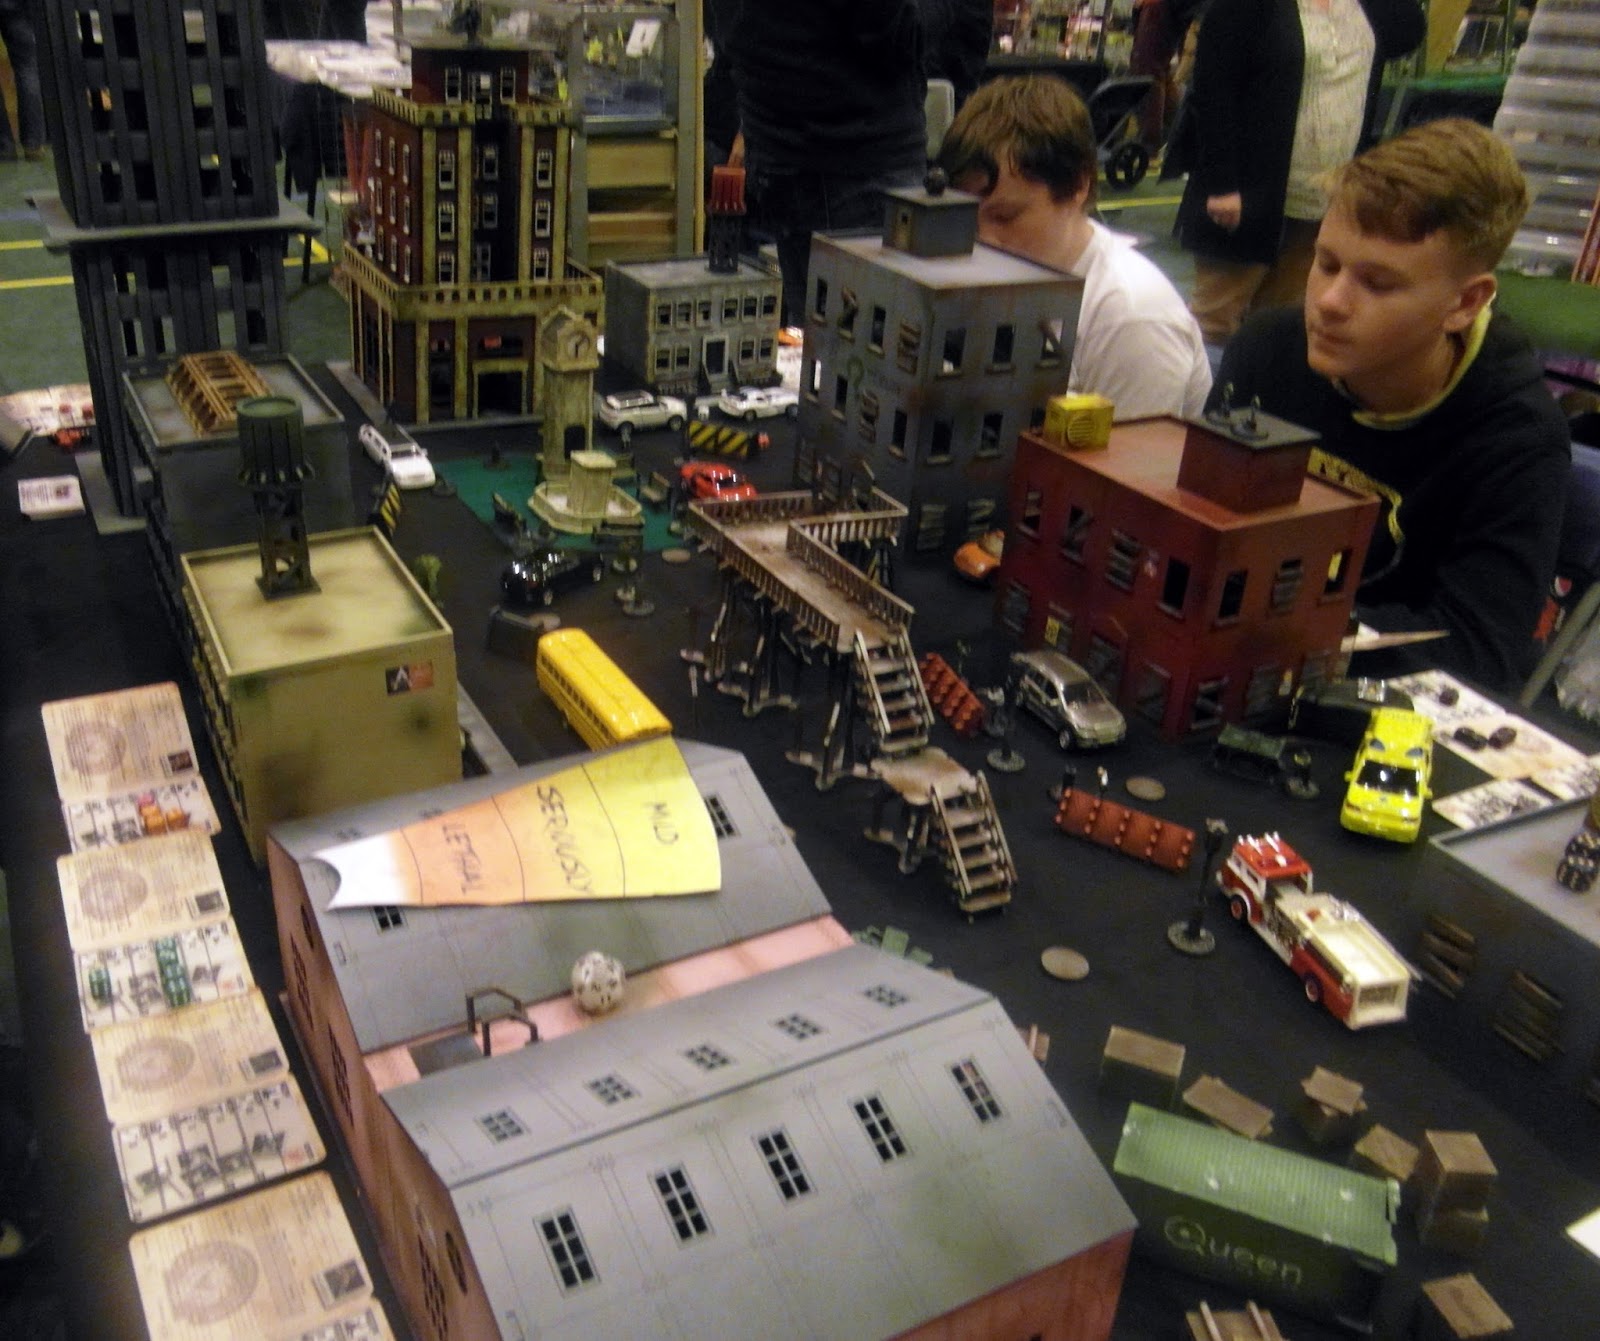
 One of the games I was most impressed with (probably for what would be considered by some to be all the wrong reasons) was a Batman game .
So what impressed me about this ?
Was it the terrain, figures or the rules ?
It was actually none of these, but rather it was the enthusiasm the players (two guys and two younger lads) had for their game.
I chatted to Ian, whom I took to be the organiser of the game for some time  and couldn't help but be impressed.
You can stop looking, he's not in this shot.
I think they did an excellent job on what was their first ever demonstration game that they'd only recently decided to 'put on'. 
 Unlike many of the other games this game seemed to have a lot of the punters around it all the time I was at the show, so they must have been doing something right!
Unsurprisingly, like most of the groups and individuals putting on shows these chaps from (Ashington) were within spitting distance of where I live, but to me what was surprising was the number of such groups, which I'm guessing was at least a dozen.


So all in all it was a good day out, shooting the breeze with like-minded people made a great change, but I can almost here the plaintiff cries of "What about the loot?". Well, I did buy some figures, a bag of Gripping Beast Anglo Saxons, that were not for myself alas, but were for my #1 son's Saga game, as a thank-you for chaperoning me throughout the day !

Next week it'll be back to normal with some new boring card-board stuff I've been working on ! 

(I've also posted the last of my big-cats post on my other blog, HERE  - just in case anyone is vaguely interested)

Monday, 31 August 2015

More HVACs

Basic box HVAC
I did scratch-build some HVACs and made some card ones for roof furniture quite a while ago, but as my city has grown the need for more has of course been quite apparent as the roofs of my buildings are almost devoid of anything vaguely interesting.Over time I've also accumulated more card buildings from various sources.


Most of them the HVAC units are of the basic cuboid box shape (as shown above) and hence are fairly easy 'builds', even if I do tend to make them look like they've been built by a five-year-old!
Some however do have interesting shapes to them giving a bit of variety.
The one shown on the right is fairly recognisable as a typical air, one which would be equally at home  on the side of a building as well as the roof. In the photograph Sid is having to hold up the vent as it's top heavy and not stuck down. The angles nature of this model made it quite difficult to pack out with foamboard for strength (Damn you sausage fingers!)
The un-remarkable other side
Great Cover
The two HVACs on the left could just as easily be electrical cupboards too, but basically they're just more roof furniture (and cover).
These once more have at least a semblance of an intersting shape to them, even if it's just an extra angled bit tagged onto them.
I do reckon that they'd be fairly easy to make from scratch as they're basically just boxes, but adding the detailing is a pain. For my purposes they're fine as they are, didn't take too long to build and besides I've got another batch already printed out.


Another view, showing the 'boring end'


I'm sure that there are many manufactures who make much better resin versions of these, but alas as in many things their cost to me is prohibitive.

 When I showed my Hospital build I'd omitted
a vital piece(shown left). When playing games, unless buildings are bolted down to the table they always seem to 'drift' around during play.
With the larger 'combination' building that I'd made, the effect would be multiplied as the component parts drifted apart. As I did with my yards. a couple of pies of scrap foamboard (about 1cm apart) glued to a black sheet enables two buildings to be slotted alongside one-another into the gap so at least the entire building will drift and not just one of its component parts.

Next week I'll hopefully have some more boring exciting card boxes to post about, but that's it then for this week, thanks for taking the time to read.

My other blog continues to trundle on, you can read the latest installment HERE
THIS IS A TEST

Monday, 24 August 2015

New Build Finale - finally!

The Front of the 'Annex'
After the problems of wrong sized walls, roof etc. I did have a few print-outs left over as well as some pieces from the 'wing' with the 'four' window strip pieces (rather than all the others with three windows strips). Rather than bin these bits,  I've glued them together to make yet another building to add to the grey complex, be it university, med-research lab or its original intended purpose as a hospital.
The cobbled-together roof
Even this build from the scrap bits came with its own problems - namely the roof. Yet again,  I needed another print-out of a roof but unfortunately, once more, it came out the wrong size! (Who'd have thought ?)  Getting rather bored of these shenanigans I cobbled together a roof from the two undersized roof pieces, which fittingly matched the roof made from a couple of bits of scrap foamboard.
The centre strip was covered with a shaped piece of foamboard covered with another scrap of roof print (of a slightly different colour).
So here's another view of the finished piece,; its footprint is about eleven inches square and is about 5 inches in height.


As a bonus, whilst waiting for glue to dry, prints to arrive and so on, I got to work on some more roof exits for my tenements.
They're nothing to 'write home about' really as they're just boxes packed with a bit of foamboard with a card roof added; I did manage to make another seven giving me a grand total of eight - halfway to what I need to give each tenement
one - so there will be no more camouflaged roof hatches in the future!
Boring roof-top view (try and spot Sid to relieve the boredom)
 Here's a view of several of them on the terrain used in my last scenario.
Hopefully you can see that I have managed to vary the colours slightly.
Another view - slightly more boring than the last
In other news, I'll be continuing to make HVAC type things for more roof-top furniture for next week and I've managed to pick up a paint-brush and paint a couple of figures (though not zombie related - they're not even human!) as I've been feeling a lot better lately, despite some more unexpected, very minor surgery - These are the first figures I attempted since March (and my painting hasn't improved any). They're for my other on-going gladiator project and can be seen on my other blog HERE

I'll also take this opportunity to welcome another follower  Gordon Richards who has the very interesting blog "I have wrought my simple plan".

That's it then for this week, thanks for taking the time to read.