Welcome to my blog, the story of my continuing journey into the World of Zombie Wargames.

Monday 28 October 2019

Sudan - 1st House - Finished !

This week I've been making some more progress towards finishing some buildings for my Sudan project. The large Souk building was gunked up, dried out, and sanded down. Doors were all finished off and mostly painted, but the biggest step forward was finishing off the first (practise) building  made to a level I was happy enough with.
 The photograph on the right shows the completed model.
Before doors and pots added !
To get to the final stage I washed the original model in black (though in future I'll be using a very dark brown), then a sandstone wash, followed by a magnolia (ish) colour (I'd ran out of magnolia and used the closest I had); next was the final white dry brush to highlight everything. The white is not a brilliant white but rather a very, very ,very light grey imo. (It's called either chalk white or moonlight white)


Colour before the final two highlight colours were added
Black wash on a second building
Building above (on left) with sand colour added alongside finished model.
Another view of the finished building
Rear view (bit boring)
Another rear view (really boring)
Side view (asleep yet ?)
Slightly more interesting internal view - note the corner roof supports
The internals, haven;t had the same attention as the exterior, but will get a small amount of attention when more buildings are finished.
View showing removed roof  and a gravity defying pot...
The other roof removed - again with the pots (acting as a handle to remove the roof)
That's it then one  adobe build down and lots more to go !

In other News

 I ordered some bits from "Frontline Wargames" - superb service and outstanding resin casts, for  a very reasonable price. Their Wild West stuff has everything you could imagine needing for a western town.
Here 's some photos of the things I bought with the Sudan in mind  !
Market stuff (4 counters) and a fountain !

Library shelves, cupboard, open book (on stand), chair and globe
Bedroom stuff, wardrobe, drawers (with lamp and stuff on it) plus bed
Boudoir (fancy bedroom) - great model !
In addition I also bought some civilians figures from "Eureka UK", again, wonderful service and excellent figures:
It's the angle of the camera making them appear smaller going right !
Photo comparison: Redoubt on left, Eureka centre and Foundry on the right.
So I have some salesmen for the Souk and some beautiful women to go shopping.

My adventure in Techy Land during these two purchases would fill a post by themselves. One of the order forms had pale yellow check options which I didn't always notice and my PayPal account wouldn't let me log in (since fixed), but eventually everything was sorted and the Interweb gave a sigh of relief (as did my daughter who had sorted it all out for me) .

I 'll be taking advantage of the added hour of not having to pick up my granddaughter and do some figure painting this week and making up for losing the weekend to a mandatory wedding attendance.

So that's it then for anther week , thanks for taking the time to visit and as always your comments and both welcomed and appreciated.

Monday 21 October 2019

Sudan Bits

I surprised myself this week by making as much progress on my Sudan project, especially as I took a day off anything hobby-related, due to illness, however as the week went on I found myself getting a lot more done than I'd anticipated.
As  the title of this post hints at, I accomplished nothing major, but I am happy with the results.
The pictures on the right shows all the bots, sacks and bowls I've scratch-built (taking advantage of a single day without rain to spray-undercoat!
I was so pleased with the results that I'm  now looking at doing a lot more.
Here's some close ups
Three grain sacks (or some other yellowish stuff)
A couple of pots and a bowl of red stuff (spice ?)
A variety of larger pots (they look a lot bigger than they really are)
More pots (Bored yet ?)
Even more pots ! (Who'd have thought ?)
All the pots etc. were made from what I had available; some very old FIMO; 20-year old, unused  green stuff; and beads!
A bag of 200 assorted beads cost £1.99 (from the Range iirc)
The FIMO stuff
Once undercoated, it's hard to tell their origin imho.
I tend to work on several different things at once for many reasons, boredom, light,  changing posture and awaiting items to dry or glue to set etc., so I also finished off the mass-door production gluing and cutting them all out:
Notice tags on doors for securing into foamboard and the arched door is for the Souk
My recently bought felt cloth was also laid out, enabling me to iron it, removing the very prominent central crease and the four lateral creases, from the need to fold and pack it for delivery.
Before (top half) and after ironing (bottom half)
Damp kitchen cloth used )less washed out photograph)

The Iron (weighing about half a ton imo) - normally used on a Snooker table !
A beautifully smoothed out surface (on yet another 'washed out' photograph)
As I ironed the cloth out, it was rolled onto a length of tube that I had retained just for this purpose, thus retaining its crease-less state. I'm pleased I cut the tube a little longer than six feet (the purported width of the cloth) as I found the cloth to have about a very pleasing,  extra four inches to the width !
This whole ironing , rolling, weight-lifting cloth dampening and awaiting iron to heat up, took place in two sessions over the weekend as once more I succumbed to failing energy levels.
I did however finished gunking up all the foamboard buildings I've recently made (though not Gordon's pad) and save for the larger Souk, sanded them down into a more presentable format.
comparing them to the photographs in the last post, it can be seen that I've also added some extra areas of fallen plaster.

A gunged up wall, half unsanded (left) and half sanded (right)
Sanded and some detail added
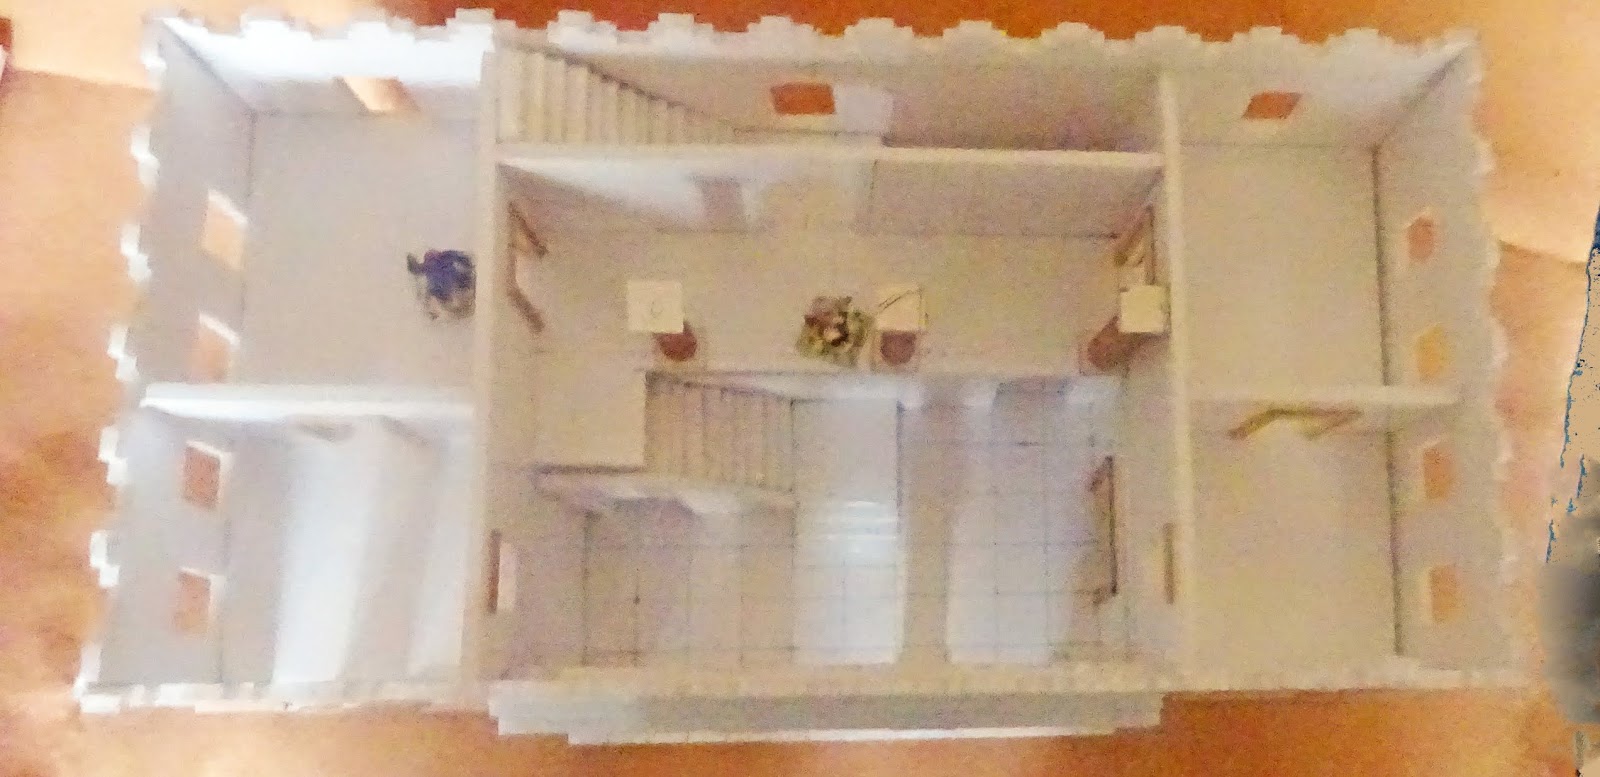
Reverse view of above building
The unplanned 'scrap' building
Reverse view showing a second door ! (I may also add rooms at a later stage)
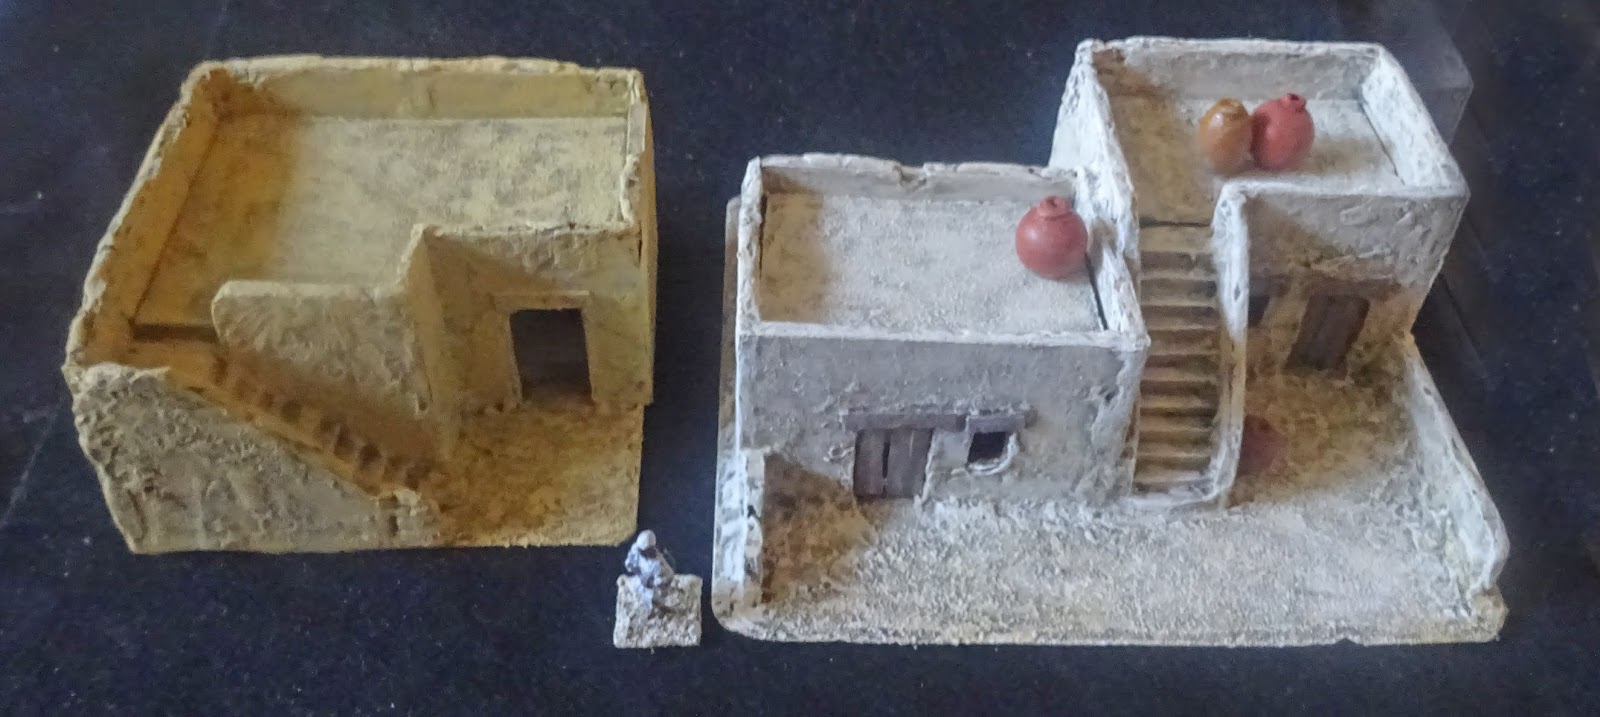
One of my favourite buildings (and probably the smallest)
Reverse view of above. The figure (Al Hahdin- or Al for short, is from Redoubt)
Another very small building, but imho, beautifully formed
Reverse view of building
 I'm very pleased with how these have turned out and will hopefully be adding doors and roofs over the next week (though you may have heard that before). I do think though that I need at least two and maybe up to another six small buildings, all as yet unplanned. I do also however intend to make two larger structures, a barracks building and a larger terraced building. The latter building will be an experimental attempt to use up bits of scrap plastic I've kept for years, because "they're interesting and  could come in handy" and not for any intended purpose (Ed. Read: Confession:"My name is Joe and I'm a hoarder...")


That's then for this week, one in which I think I've been busy and productive over the last week and I hope you've found something of interest.
As always your comments and critiques are always welcomed and truly appreciated


Monday 14 October 2019

Gordon's Khartoum Pad

In a week which saw my Interweb intermittent for more than four days and the usual aches and pains, I've managed to get a fair bit of hobby time in. I've finished the major modelling on the Building I started nearly a month ago having finally decided what its internal layout would be,  and yes, I used to be fairly indecisive but I'm not so sure now).
The photograph on the right and those following show the mostly complete model.
Rear view (figures for scale are Redoubt -bottom doorway and OG-roof)
Roof View (Ed.: Padding imo)
Entrance, showing the 'infamous' stairs
Entrance hall showing a bit more detail
Awkward view of stairs
Top-down view of ground floor
Upper floor 'top-down' view
Upper floor in place - notice door frames (internal only)

The 'other' side of the upper floor - Gordon's quarter maybe ?
This building has a footprint of about 16" x 8" (40cm x 20cm) and an overall height of about 6.5" (about 16.5cm) - so it may not be the biggest model I've ever made, but it is BIG !
 In addition to finishing the majority of the construction of this build, I manged to knock together a shell of another adobe  dwelling from the bits left over from the 4 sheets of A2 foamboard.  (that's the equivalent of 16 sheets of  A4 !). Here's the photographs :
Front (or back)
Back (or Front)
Obligatory boring photograph, but it does show how rough this build is
Bonus additional boring pic
This latter model had to have some immediate remedial work done to it in the form of emergency filler to fill the huge gaps and to keep it together (it'll be all right on the night - as they say).
The normal bits of stirrers for window lintels have been added to all the buildings made so far  but the lintels for Chez Gordon had a minor bit of detailing added:
Lintels for Gorden's windows - Internal doorway frames were done similarly
I've also made inroads to mass-producing doors for the various buildings and it wouldn't be one of my builds without numerous coffee stirrers,.
Mass production of doors, one or two will be arched, hence the 'stencil'
Weight added to flatten all those stirrers - unused wall to spread the weight
I'm very happy with this last week's progress, managed even despite real-life considerations constantly trying to hamper all my efforts.
I also proffer my apologies for what I consider to ave been a very rushed post this week - an unexpected,  last minute hospital appointment (today) meant I was very rushed to photograph, edit and produce this post (and of course the cameraman was as rubbish as ever).

That's it then for yet another week, thanks for taking the time to visit  and hopefully finding something of interest. As always, your comments are both welcomed and truly appreciated.