 |
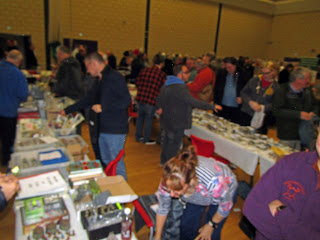
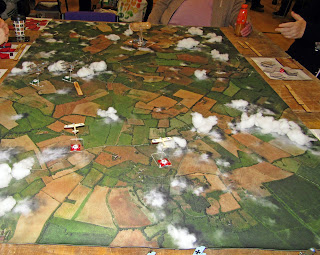
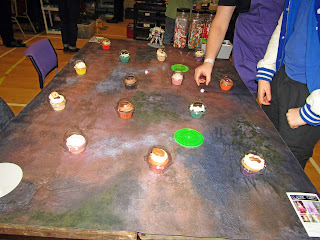
The hussle and bustle of the bring and buy 10.15am(like this all day)
|
So, over the last two months I haven't been well enough to do much. if anything computer, hobbywise or otherwise. Arthritus has had me resting my hands as typing was far too painful, as was holding a paintbrush, drawing a line or cutting anything (I've tried all). Making a cup of tea was a hurdle that had to pass and have doen so very successfully. As I was on the mend, I was struck down once more with the illness I had twelve years ago, covering my wholebody with blisters and sores making it painful to stand up or sit down, eat or drink, without vast amouns of painkillers and a substantial increase in medication to combat the problem.
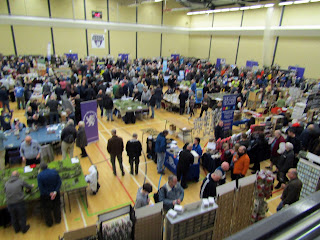 |
View from the balcony an hour later
|
So now to my current situation; I'm over the worst, so much so that I managed to get to a show ! (With the aid of my #1 son as driver and #1 grandson accompanying.
Great show, biggest in our neck of the woods and as the photographs show, it was busy from the time it opened until three hours later when we left.
I saw friends, I haven't seen in years and in at least one case, decades.
On to the photographs, all with the usual bligatory blurry ones:
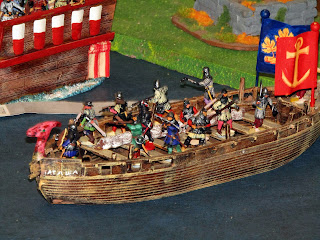 |
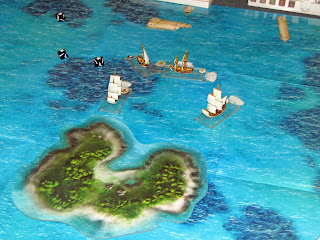
One of the smaller ships from Durham Wargsames Groups' galleon game
|
 |
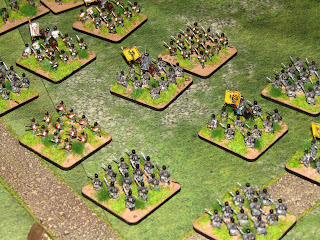
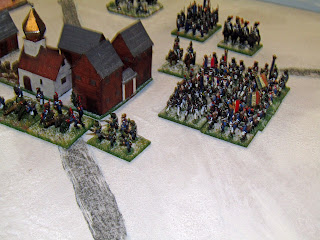
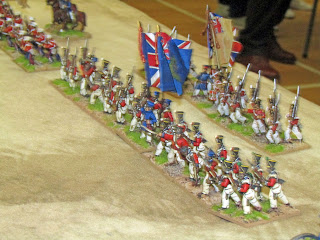
Redcar Ironbeards, Schleswig-Holstein War 1848-49 in 10mm
|
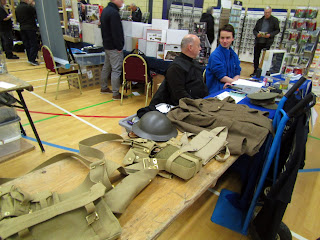 |
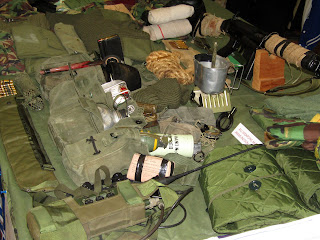
Gear on Display from the Heugh Battery Museum Harlepool
|
 |
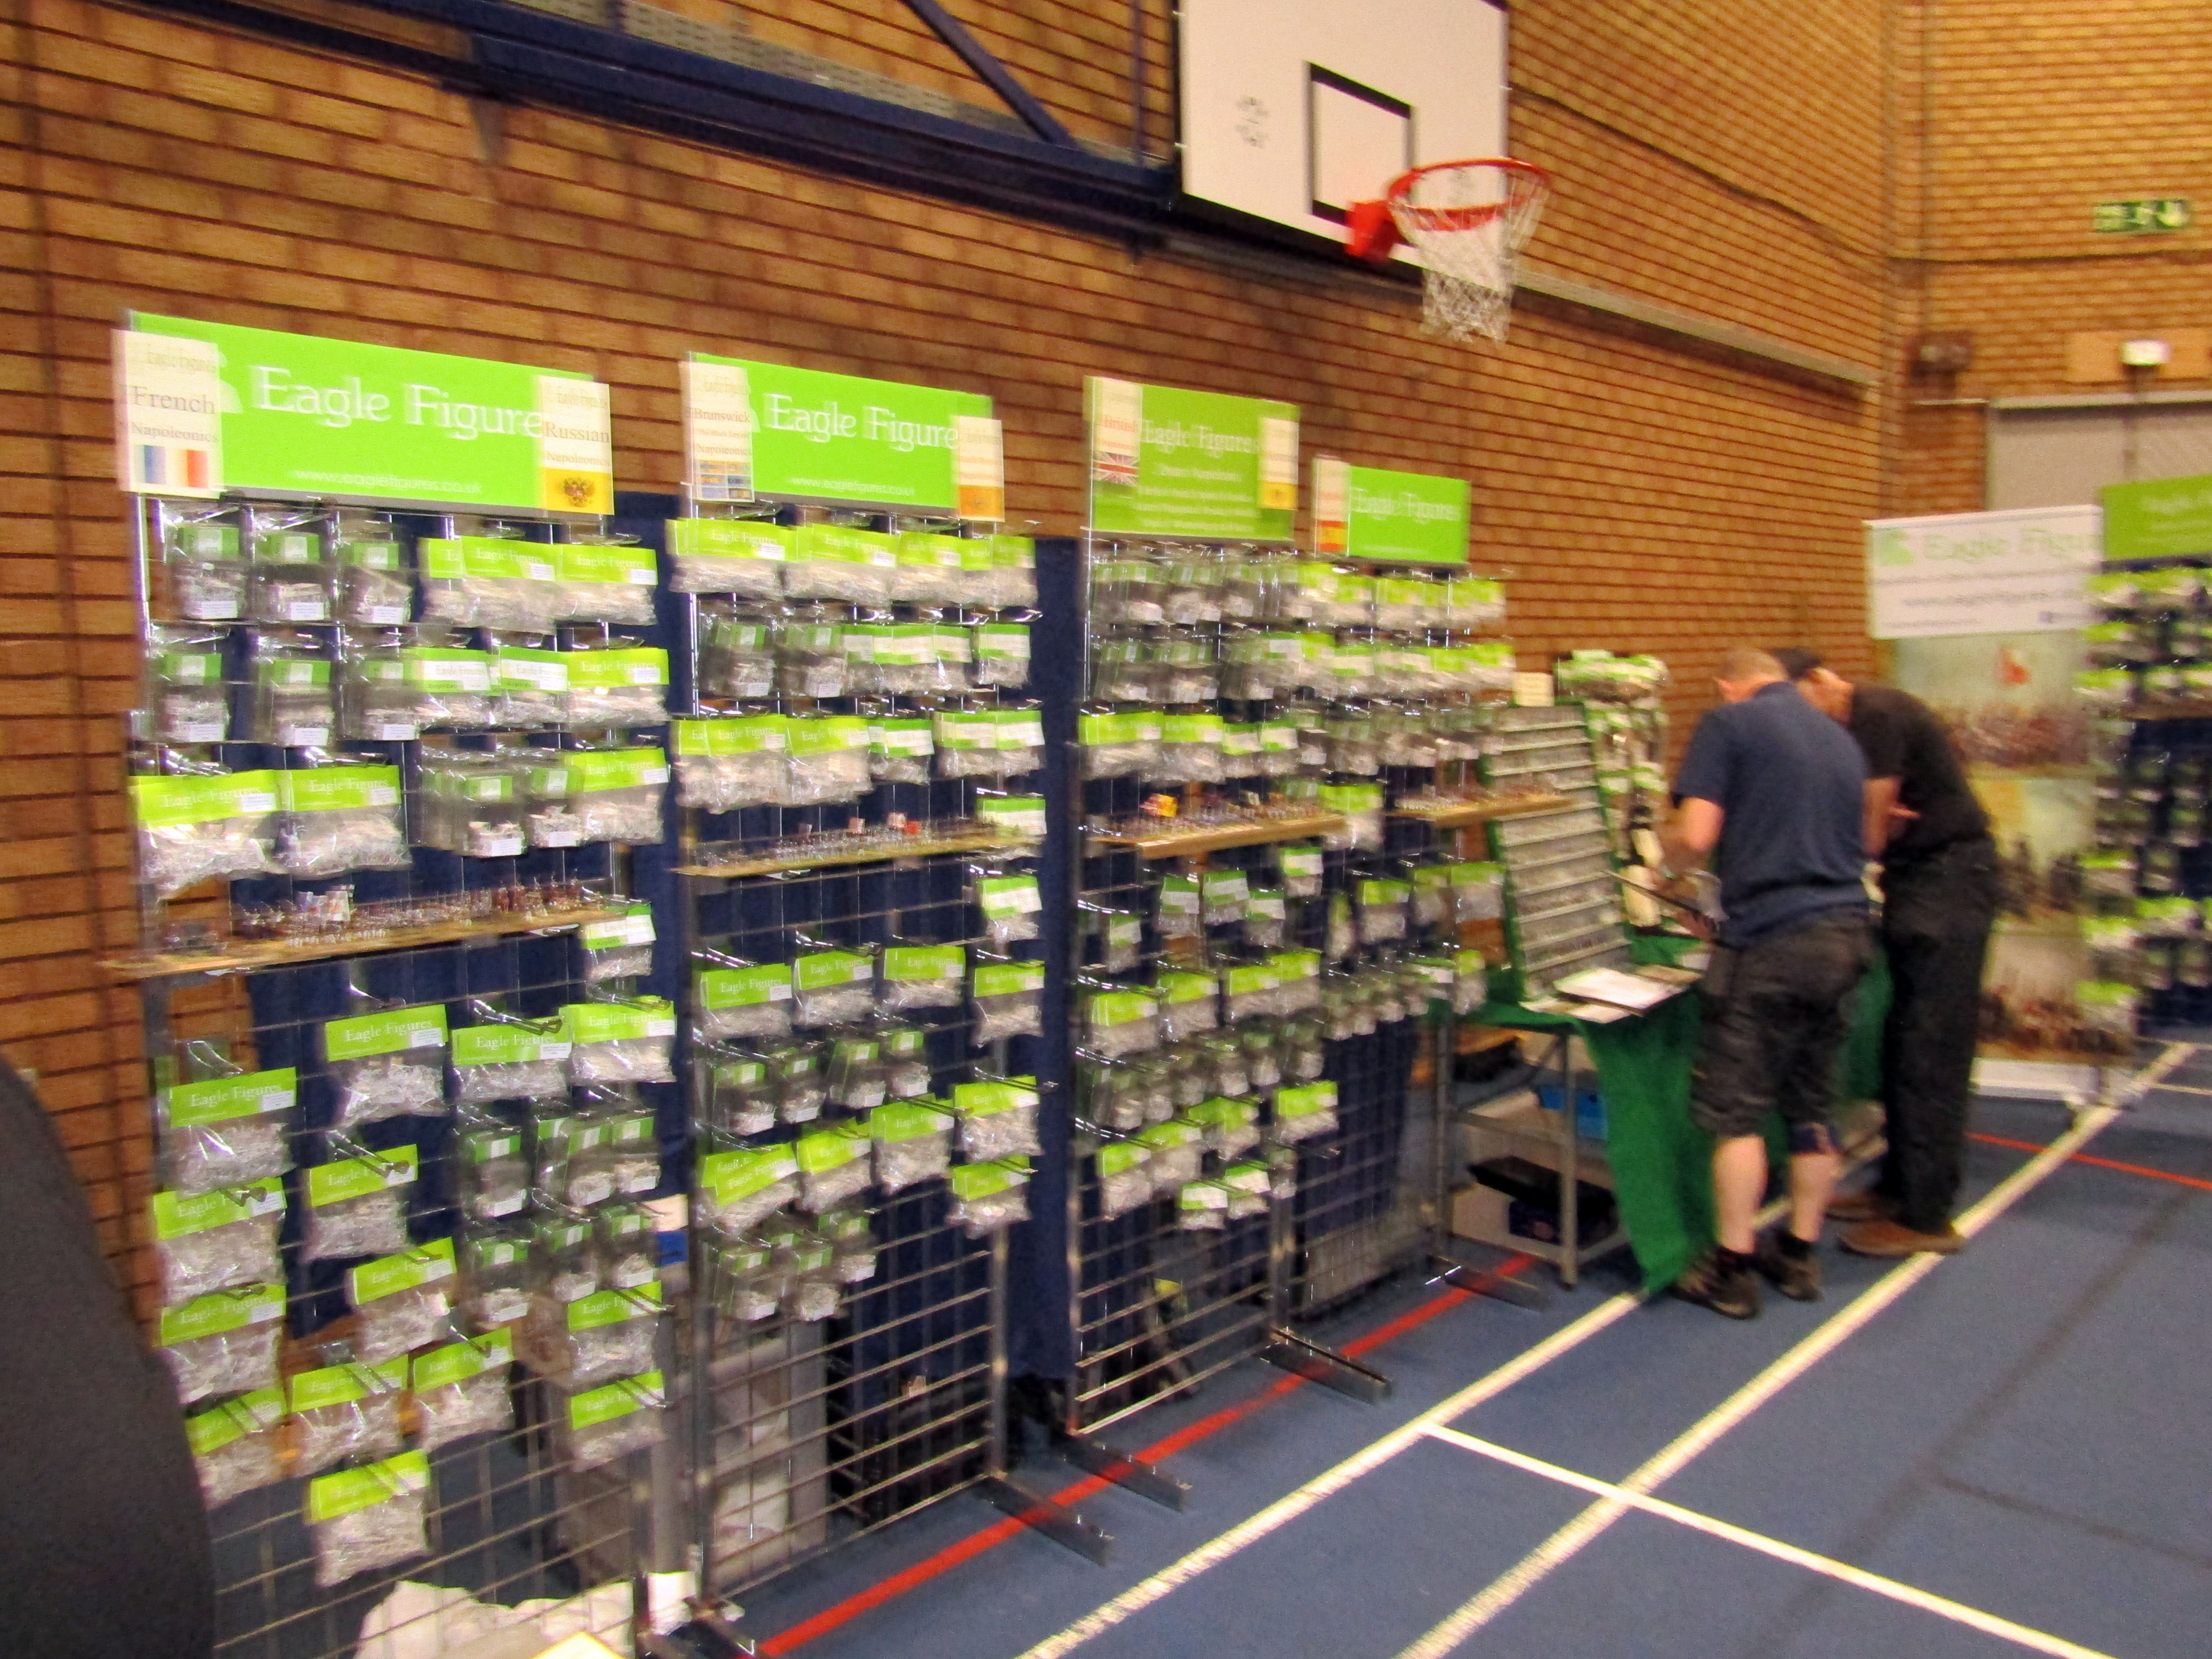
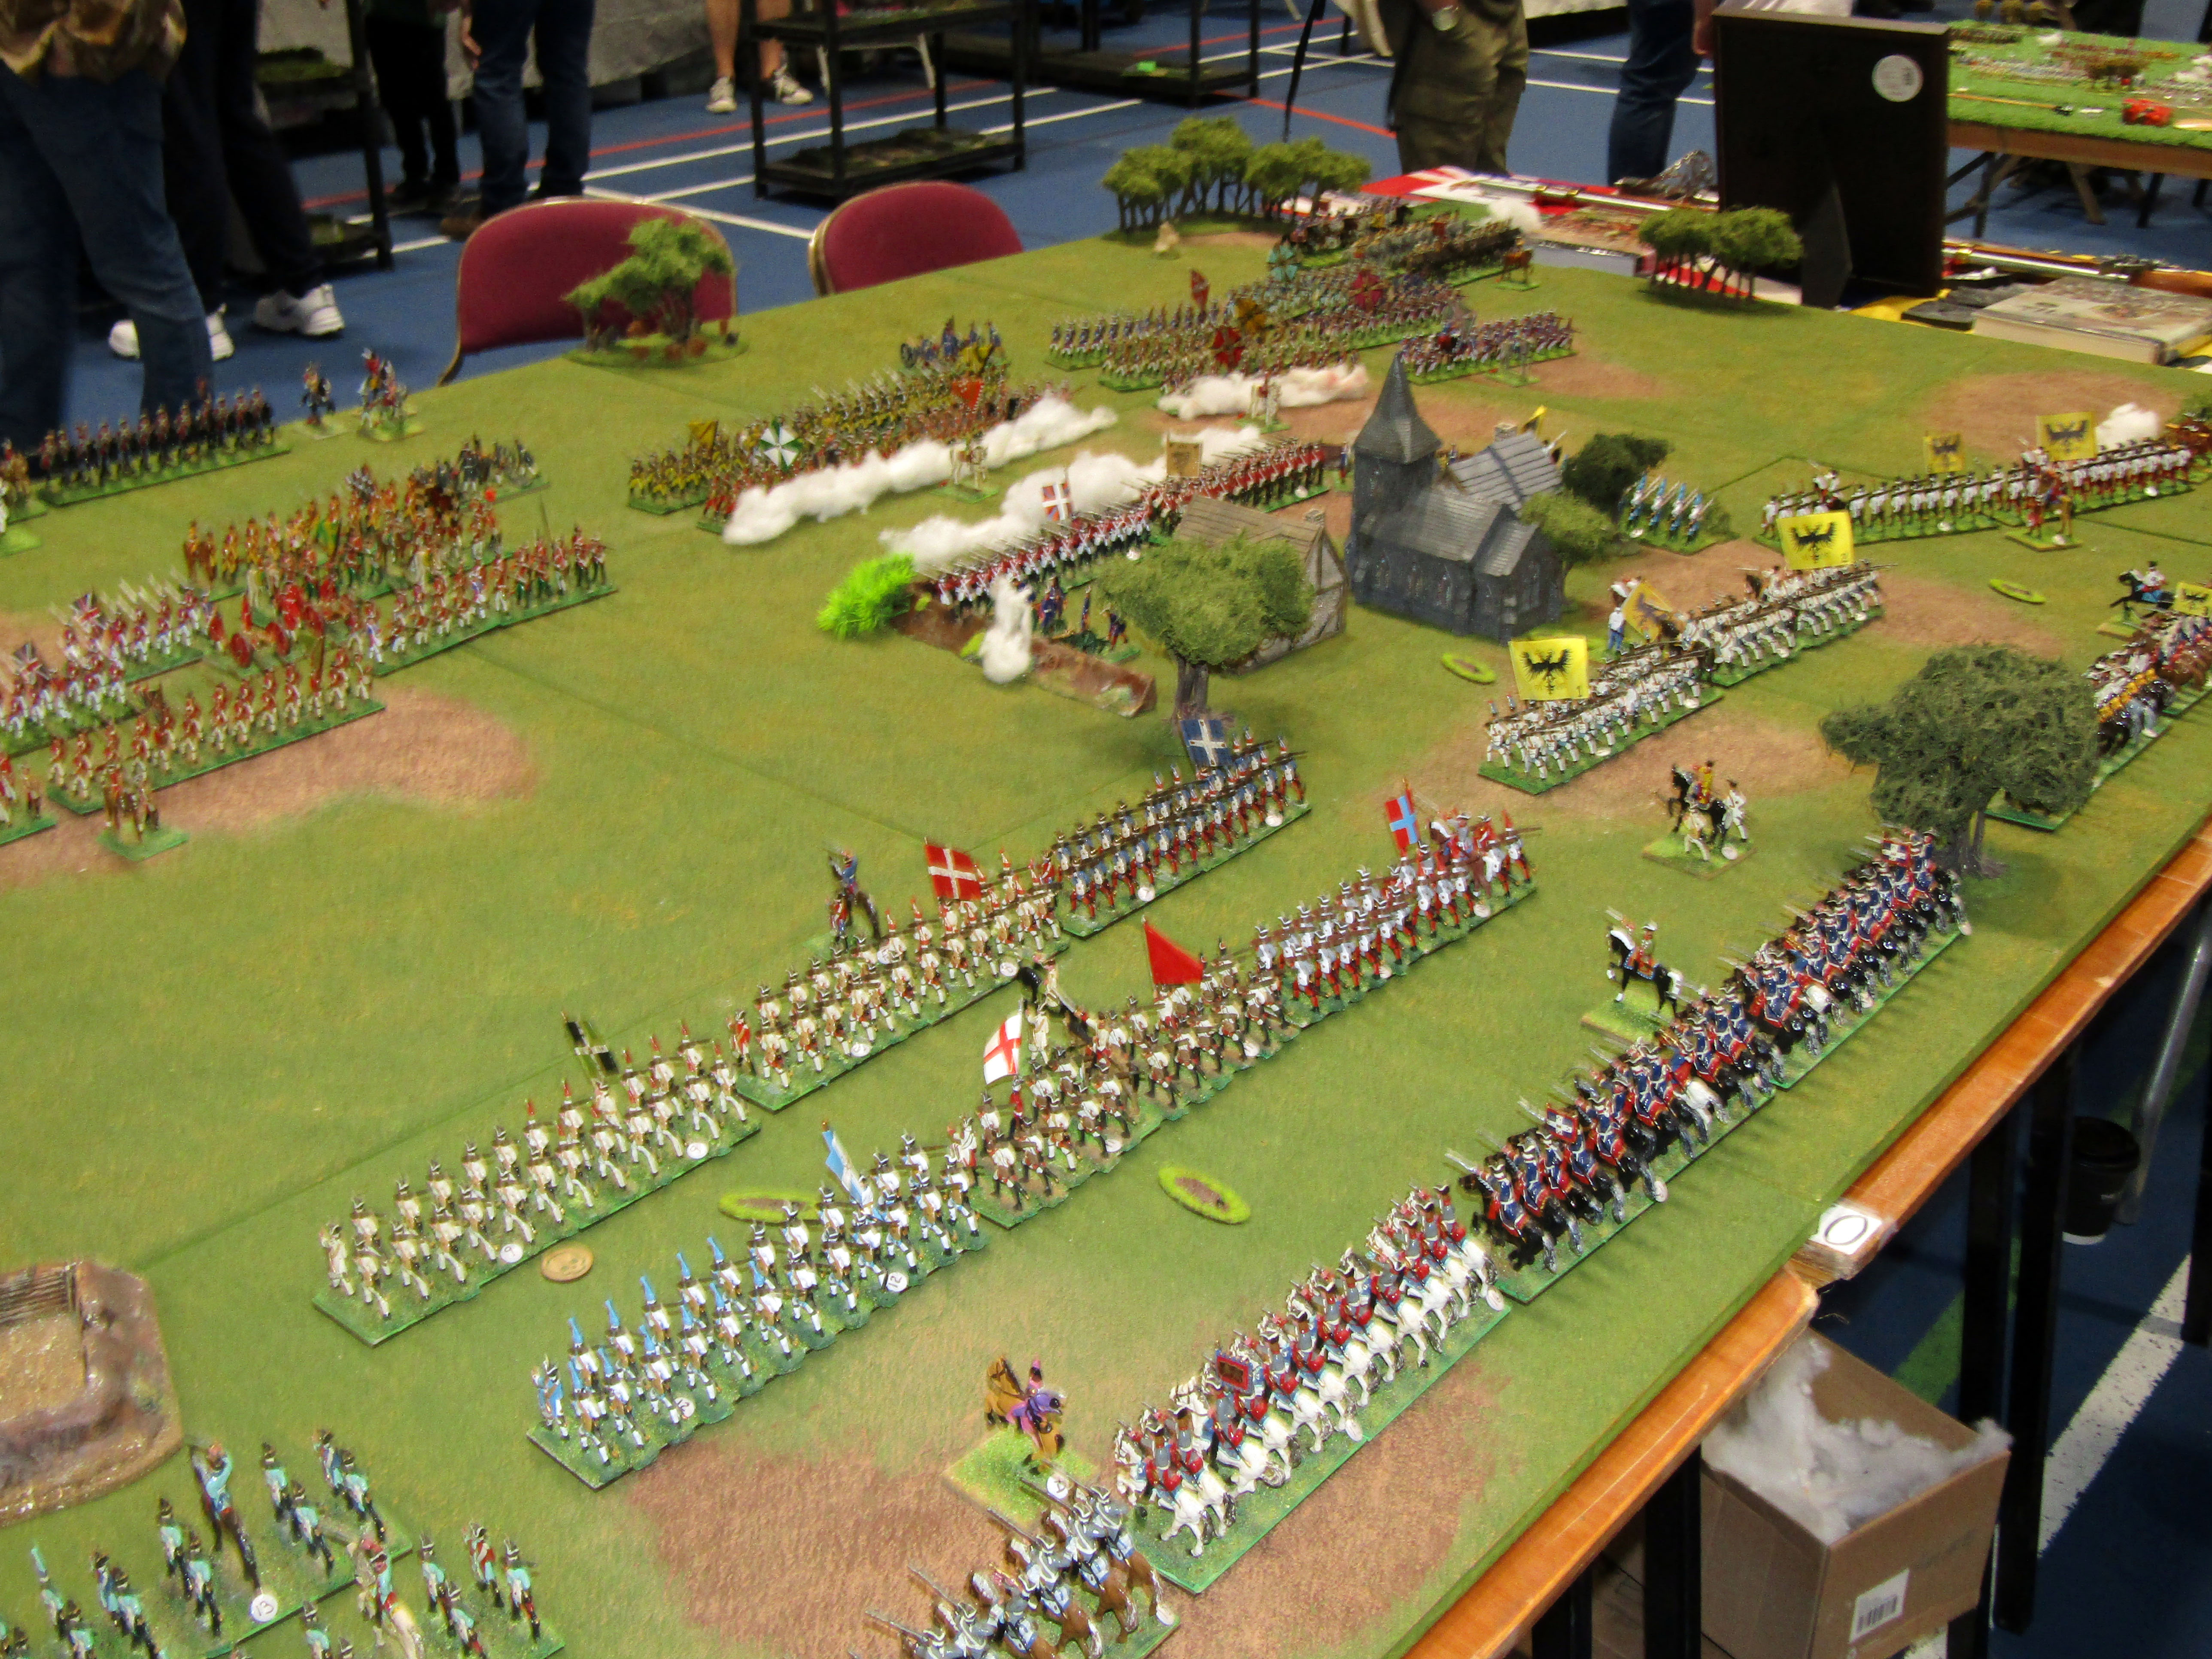
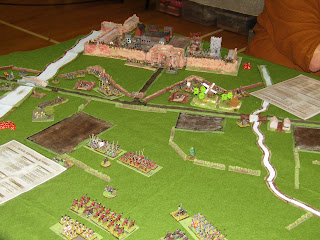
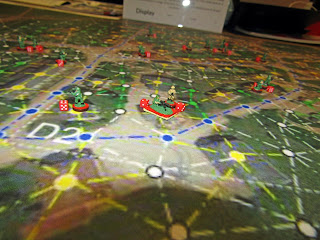
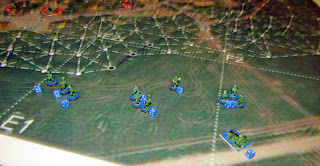
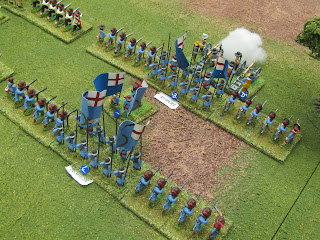
Stafford and District' battle of Nachod 1866 (15mm iirc)
|
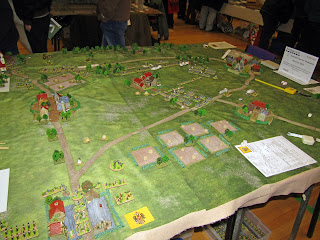 |
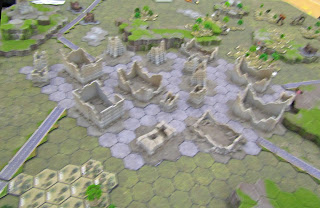
Nachod overview
|
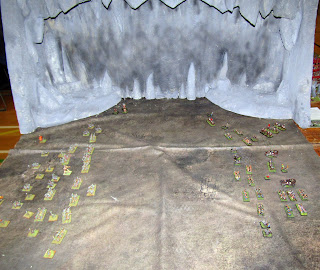 |
Middlesborough Wargames' Clashh in the Cavern...
|
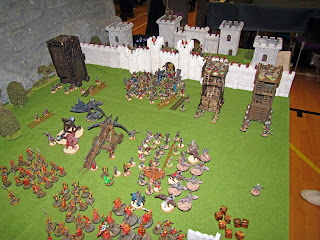 |
...and a siege outside the cavern. (28mm Fantasy)
|
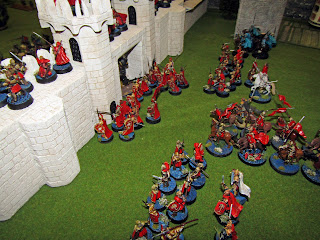 |
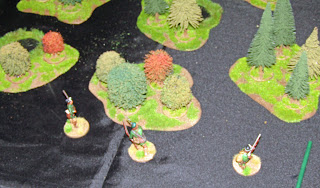
The defenders... elves... fae... redcaps...dunno
|
 |
'After Casablanca' awaiting players...
|
 |
...by Lancaster Wargames society - looked very interesting.
|
 |
WW 1 aerial combat by Prince Bishop Wrgames club...
|
|
...using their own rules (and very good they looked too)
|
 |
Leeds Wargames Club game "Battletech"...
|
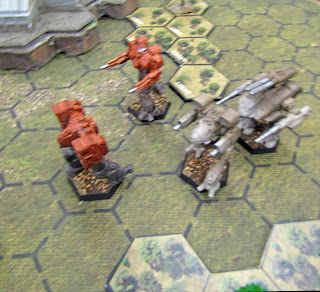 |
...which kept #1 grandson engaged all day.
|
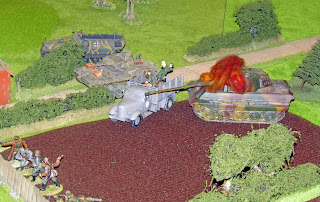 |
Kings and Generals' 54mm Normandy game !
|
 |
Wakefield and District's Cammanodo raid - small particpation game, but looked great !
|
 |
Cozzmic cakes, Cake Wars... don't ask, I didn't !
|
 |
Unknown... I lost the reference for this game
|
 |
Big on Strategy's Turkey shoot 54mm AWI skirmish in the black forest floors of North America
|
 |
DBN game of Eylau, looked great...
|
 |
...beautiful figures and a long time since I've seen DBN
|
 |
"Wargames in the Dungeon" attack in Whitstable Harbour fun participation game
|
 |
Firelock Games' Oak and Iron
|
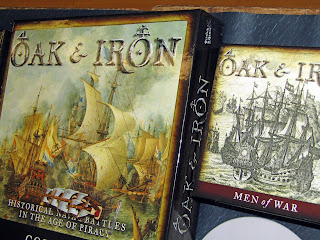 |
Rules and beautiful models
|
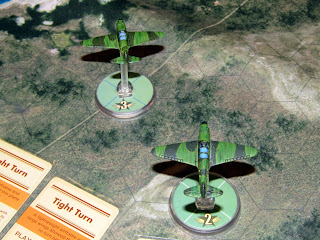 |
Hartlepool Wargames Society's "Blood Red Skies"
|
 |
Display of Para equipment
|
 |
Doug's Wargaming blog "2 Para at Goose Green"
|
On of the best games imho at the show, 14, figures, limited terrain; a night action in the Falklands, with seven paras versus an Argentiniian lmg team and wireless position, just fur guys, but well dug in.
For this recreation, the names of all the paras is known their positions and actions too -great reasearch and many photos .
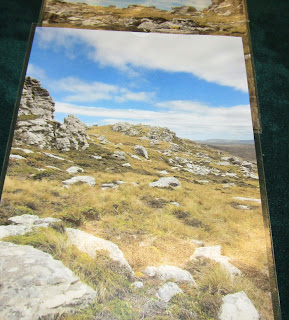 |
Photo of the real terrain in daylight (obviously)
|
 |
North Riding's large number of paper/card armies
|
 |
Looks great from the front or rear, but disappear side on, like the excellent German flats of yesteryear.
|
 |
Great looking Border Reiver game using 'Pikeman's Lament' rules.
|
 |
Uk Fight Club (?) game "Take that Street"
|
 |
It looked interesting, but the garish colours put me off and sunglasses weren't provided.
|
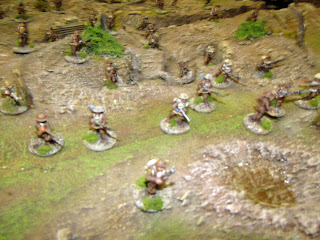 |
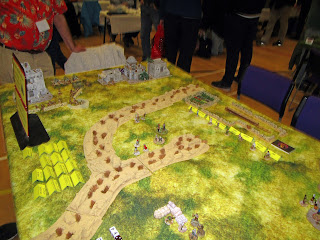
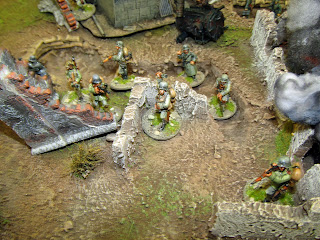
Grimsby Wargames Society's battle of Haricourt (WW1)
|
 |
The German defenders of the attack above
|
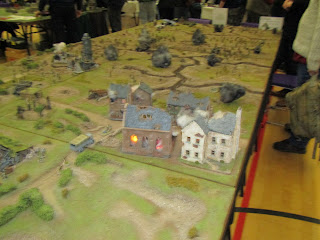 |
The table was massive !
|
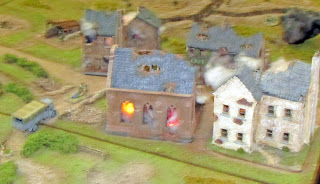 |
...and full of details wherever you looked.
|
 |
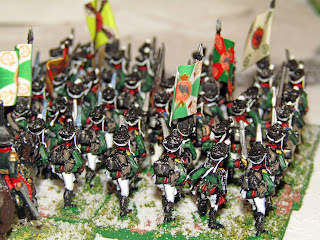
Gorgeous units from Tantobie Warfare and Tactical Society's game "Miniawala 1846"
|
 |
Westerhopes Battle of Naseby in 28mm
|
 |
I love these guys' games - always something different
|
 |
| Mr Wiley's game "something to do with dice" - always enjoyable to see |
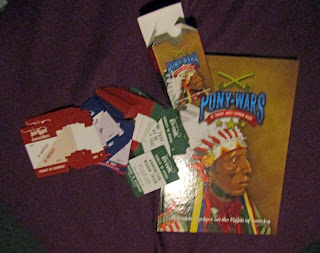
And that's the show games, traders were busy all day, here's my miserable haul:
 |
For Nostalgia's sake, B troops still ain't coming back
|
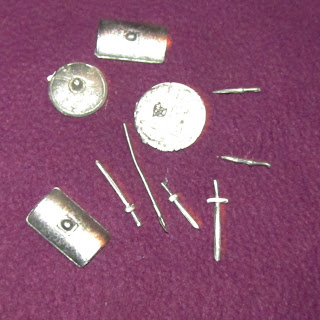 |
Proper kit for my gladiators to drop
|
 |
Three trucks I don't ned, but I made the lad selling them at the B&B happy.
|
No evidence remains of the pies, teas, pop, sandwiches remains, but I did get Brownie poiints from SWiMBO for the box of 6 cupcakes I returned home with. !
Apologies for all theos displays I've omitted, apologies for thiose games I've missed or got names wrong, but I'm old and decrepid so leave me alone, bloody youngsters....
As of February next year, twelve years since I started blogging and in similar cirucmstances to when i started blogging (recovering from a major illness), I'll be all but giving up blogging. i's all a bit too much for me as I type here with sore fingers and struggling to see what i'm typing.
So apart from the usual glib posts (HNY etc) I'll be signing off except for maybe a few infrequent posts of shows etc.
Thanks for taking the time to visit, my three and a halfhours of getting this together, I hope, was worth it.
Cheers all, Joe (Zabadak !)