 |
| Sills and a door added |
The sills of all the windows have been cut and glued in place (coffee stirrers of course) and three door have been made and glued in place too.
The door to the tower is in the wall of the tower section with just a portal into the main body of the church.
The main door to the church has been glued into another internal wall that will affix to the back of the main front facade.
 |
| The tower walls with sills and door. |
 |
| Main door |
Some fiddling about, to make sure the main door aligned with the front portico, was necessary but not too difficult
I used a very thin piece of card (cereal packet thickness) to make the door, overlayed with coffee stirrers - cut to size when glued. The process being repeated for the other side of the door.
The horizontal beams were added and cut to size later.
The other two doors were done in a similar way, save for the tower door having one side left blank as this wouldn't be viewed as I'm not making any provision for figure access to the lower level of the tower.
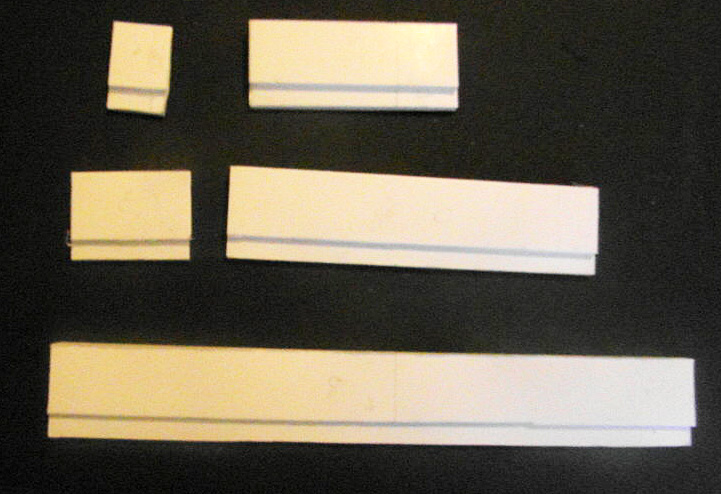 |
| Obligatory boring photo of glued foamboard bits |
The outer wall will butt onto the base whilst the internal wall will sit atop the base. I'm hoping that this will give a much stronger join than either of the two methods if used separately.
To add to the look of the walls I also made (and remade after piss-poor calculations) two corner posts for the rear corners.
 | |||||
| The corner posts, cut into the base |
 | |
| The aborted post (left and the new post with walls. |
 |
| Boring floor |
The internal floor for the main building has been scored into 1cm squares to give some detail - very easy and effective imo.
I've ran a pencil through the cuts just to show them for the photograph. I haven't yet decided how these will be painted (badly, I'm guessing).
 |
| Hatch and floor |
 |
| Fllor/roof - the hatch is yet to be added. |
This of course meant that when the tower is glued in place with an the roof fixed in place, access for figures won't be possible, but I'd planned this.
With this in mind I've roughly painted the interior a dark brown as this would be visible from the tower's two small windows.
 |
| Boring picture of tower's internal'paint'. |
 |
| Internal view of the front |
This final 'fitting' I'll be taking very slowly, gluing only a single wall into place before 'fitting the next.
 |
| Overall view |
 |
| Front showing the facade |
The front facade has had a wash of filler over it and been tidied up a bit, though it does need a lot more done to it
I've also finally decide to have an oriel added to the front, which will be tricky to line up with the internal wall, but very doable.
 |
| Another view of the front (in case you hadn't guessed) |
The final stage of course will be painting the whole thing, but I've also to decide what to do with the rear 'yard' of the building, which currently is yet to be decided.
Thanks for taking the time to look and apologies for the poorer than normal photographs, but i hope that there's something here of interest.
Comments of course are always welcomed and appreciated.
Joe, this is an amazing build, great detail and really nicely done!
ReplyDeleteThanks dGG, I only really do the barest detail that I can, there's too much of a temptation to go too far imo.
DeleteGot to say how much I am enjoying this build. It looks Brilliant, I am tempted to say so far the best thing I have seen you build.
ReplyDeleteThanks Clint, I'd reserve judgement until it's finished and of course, it's not that original.
DeleteThat model is looking brilliant! I love the architectural details.
ReplyDeleteThanks Roy, whether they're 'authentic' or not though, I don't know (or care). A plain front just wouldn't have looked 'rgiht' to me.
DeleteNow I've to decide on the interior detail too and for it to look the part.
You've got to be pleased with that Joe, cracking work Sir.
ReplyDeleteThanks you MIchael, I'm very pleased with the progress so far, but I'll be a lot happier when I finish it.
DeleteWow, Zab. You are doing a very fine job of explaining your modeling steps and progress. The project looks super.
ReplyDeleteThanks Jay, not really my intention to give a tutorial as such, but it does help to pad the post out!
DeleteIf however folk do gain anything from my explanations then it's a plus in my book.
Very fine work indeed Joe. You are inspiration and should be justifiably proud of the work you are putting into this build in difficult circumstances!
ReplyDeleteThanks Colin, I think my 'difficulties' will be a continuing theme as time passes. If the the finished model inspires others then I will be a happy bunny.
DeleteWow.... Excellent start Joe!
ReplyDeleteThanks HW, other than painting the whole thing there's not a lot left to do.
DeleteNow that is looking very nice!
ReplyDeleteFootball? Is there something going on?
Thanks C6, I think a few more sessions this week will see it all but finished - yay! (except of course for painting)
DeleteSurely every true Scotman will be watching the football eagerly supporting whoever is playing against England?
No, it's not like that. Maybe once upon a time (1970s?), most/all Scots would automatically be against England in any sporting competition. But I think things are very different now and I (for one) don't harbour any ill will to our southern neighbours.
DeleteOf course, that doesn't mean that I feel any obligation to *support* England (after Scotland, of course), any more than I would feel obliged to support France, Germany, Norway or any other nearby country.
Haha.
DeleteThere are times when I feel more Scottish than English and I'd have voted to join Scotland leaving England if I'd been given the chance.