
I rarely name my buildings (or figures for that matter) but this one's naming just had to be done.
Unlike the first two cottages, majority of the "planking" on this one came from a "Weetabix " cereal packet, rather than coffee stirrers.
The reason for using the cereal package card was because I was going to overlap the "planks" clinker style and the stirrers would be too thick to easily achieve this
The photograph shows Sid (of course) for scale at the front of the building.

 These next two photgraphs show the main differences in cladding between the first two cottages.
  Card planking on the left and coffee stirrers for cottage number one on the right. Card laid horizontal and overlapping whilst the stirrers are laid vertical on cottage one.
The "shell" of the building is made in identical ways for both cottages, but for the horizontal planking (and roof tiles) I mark lines 5mm apart as a guide.
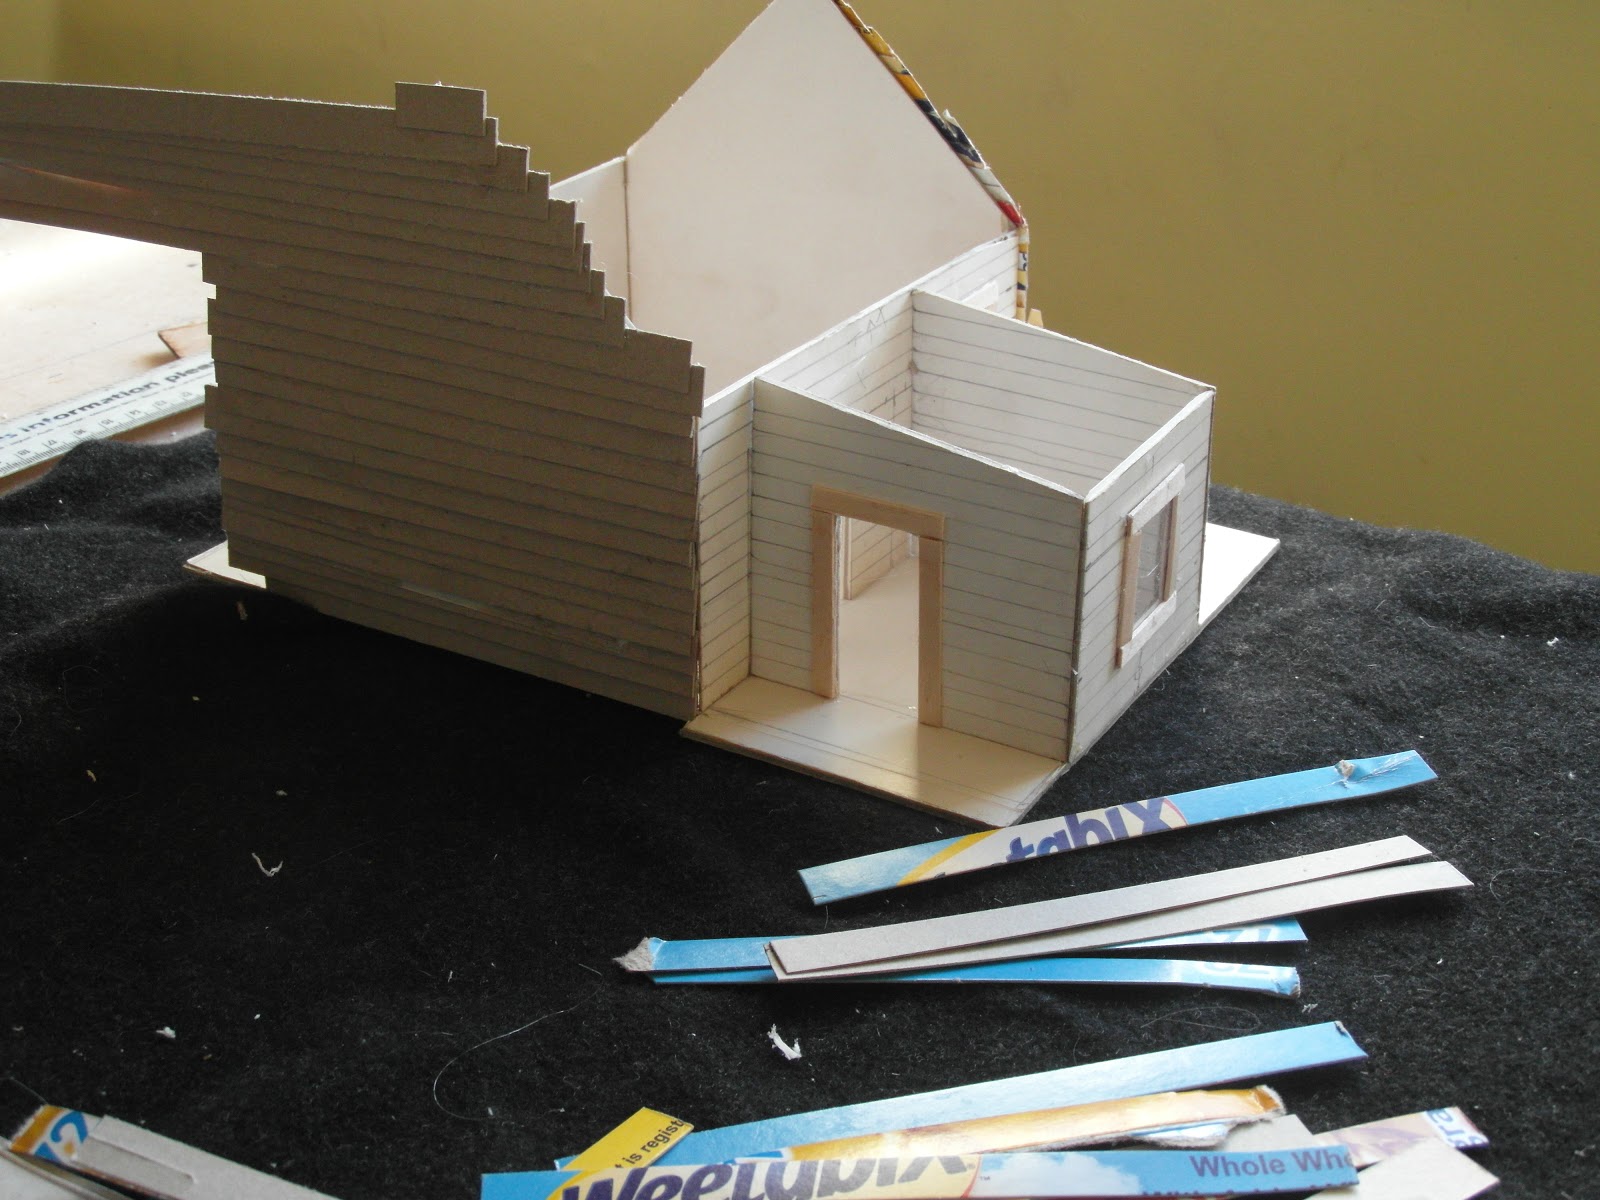
Here's the extension that can just be seen in the above photo in this side view of the cottage.
The decking on the front and side of this cottage was made from coffee stirrers rather than card, for strength.
The main part of the building is a comparable size to the first cottage whilst the extension is an additional 8cm x 8cm (approximate).

 These two photographs show my construction techniques, such as they are. I tend to roughly cut the excess materials off first, then I make a neater cut later (you can see a very ragged edge on the far eave on the above left-hand photograph).
 The right-hand photograph shows a birds eye view of the building, with the base being a single sheet of card, larger than basic size of the building, it doesn't show the doorway connecting the front of the building with extension particularly well.

The materials that the fencing was made out off will be obvious; it's 25mm from rounded top to squared off bottom and is actually glued to the edge of the base (so that the base of the fence is flush with the table surface) and is reinforces with two longitudinal pieces.
The corner edges of the building were all made with corner bits of the Weetabix box, so that there was already a fold in the card.

 The final side of the building is not much to write home about as there are no real features unique to this side.
 The final side of the building is not much to right home about as there are no real features unique to this side.
I have actually made a start on furnishing the interior of the two building as well as starting some other minor projects.
 Here's the two cottages side by side for comparison and finally Sid with my latest "minor project" prototype.
As Rolf Harris was apt to say "can you see what it is yet ?"
Whilst I haven't managed to make any great progress with my tenements they can actually just be made out (on shelves) in the background of the first photograph
Next week I should be ready with cottage number 4, which is a bit different.
So that's it again for this week I hope that you've found something here to interest you and as always all comments are both welcomed and appreciated; lastly I'd like to welcome my latest follower "Darkoath.
Consistently good work sir!
ReplyDeleteThanks AL, if only I could paint too !
DeleteYou're my hero Joe! I'll just go trough all your posts again and copy the interior stuff you're building. Really nice!
ReplyDeleteIf you'd publish this post before I went and sanded my farm, I'd surely use the "weetabix" approach...now that I think of I, I still should, that'd look way better. You think card planks would stick on pva/sand covered surface of my bigger farm?
I've always had the opinion that everthing is "fixable" notbut everything needs to be fixed. Your buildings are good as is, make somemore instead !
DeleteVery nice. You'll have to reveal how you're making your toilets.
ReplyDeleteThanks Bryan, the clue is that I've been workingon more Urban terrain boards (very, very slowly)
DeleteVery, very nice! Great job!
ReplyDeleteThanks Tito.
DeleteThese are brilliant mate. I'm envious of your terrain making skills.
ReplyDeleteThanks Brummie, now you know how I feel about your figure painting.
DeleteDamn, bloody good mate. When I was a kid (late 60's) I spent alot of time in Ireland with my Grandparents. We used to visit many places just like these. Very atmospheric, good work.
ReplyDeleteThanks Irqan, it's nice to know that they could be used internationally too !
DeleteThanks for the welcome! And I shall second Brummie's comment about how much I enjoy your terrain making skills!=)
ReplyDeleteThanks Darkoath, I do hope that others willhave a go at scratchbuilding their own terrain.
Delete